No products in the cart.
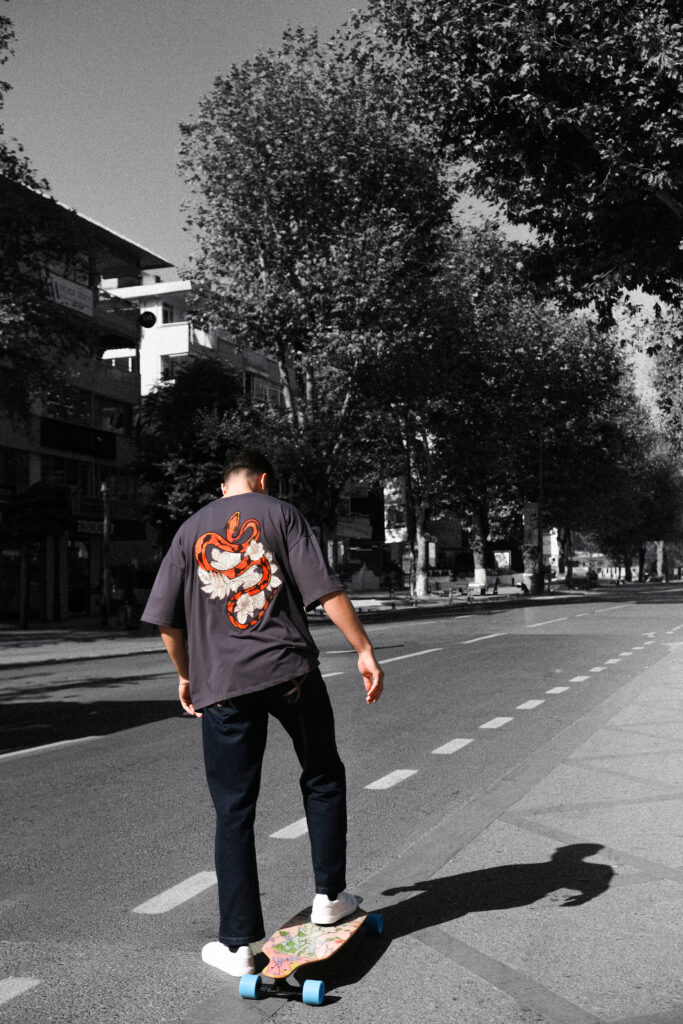
How to Longboard
#ElevateLifeStyle
Can you self-teach yourself to longboard?
Well, sort of, but is it easy to master? No. You can learn all the fundamentals you need to go longboarding in a week or so, but to master them, it takes a lot of time, practice and failure.
Longboarding might appear quite easy in the first glimpse-one of those things whereby one just jumps onto a board and cruises down a hill. The basic principles indeed are quite simple to understand, but there’s a more prudent way to go about this activity. Here is a step-by-step guide to riding a longboard.
Longboarding is one fun yet exciting activity. It offers that feel of freedom and the much-needed adrenaline rush that most young adults want. Be it cruising around the town, exploring new neighbourhoods, or participating in downhill racing, longboarding offers quite an exciting experience that spices up one’s daily routine.
Always Wear a Helmet
First things first: safety. When first starting, always wear a helmet. Get CPSC-tested helmets, and full-formed protection is a must. A good helmet can be the difference between a harmless tumble and a serious injury, so never skip this step.
Stance and Foot Placement
Everything in longboarding begins with your stance. First things first, you have to decide which is your front foot, but which should it be? Well, just like some people are left- or right-handed, the same rule applies to feet. When stepping onto the board, one foot instinctively feels better in the front position.
There are two major stances:
Regular: Your left foot goes in front.
Goofy: Your right foot is in front.
Most right-handed people tend toward the regular stance, while left-handed individuals often lean toward the goofy stance. It’s whatever feels best for you, really.
Once your stance is decided, place your feet shoulder-width apart. Your front foot should be pointed diagonally forward, and your back foot should be parallel to the back truck. Keep your weight on the balls of your feet and practice pivoting and leaning side to side. A great place to start is on a flat, non-rolling surface like grass.
Pushing and Balancing
Once you’ve got your stance down, it’s time to practice moving. Start by placing your board on flat pavement. Stand on your board with your front foot, then shift your weight forward, take your back foot off the board, and push gently.
When on firm ground, proceed gradually up to comfortable proportions. Slightly bend at your knees and slightly shift your center of weight forwards to keep on balance. Remember: slow, smooth moves keep you confident in control.
How to Stop on a Longboard
For longboarding, stopping is key-one learns just a few key techniques:
Foot Braking: Gently place your back foot on the ground and drag it to slow down. This is a simple, effective way to stop at low speeds.
Carving: At moderate speeds, carving is an excellent way to shed momentum. Lean your weight from toeside to heelside to create friction and slow yourself down. Be cautious at higher speeds, as sharp turns can lead to loss of balance.
Sliding: This really advanced technique utilizes the wheels on your board to skid to a stop. This method requires much more practice and special wheels, however.
Alternatively, you could use the SCOPS braking system. For a smooth, comfortable stop with no wear and tear on your shoes, this innovative solution works exceptionally well.
Hopping Off (Without Getting Hurt)
When rolling at low speeds, hopping off the board is a simple way to stop. Set your back foot down as if you’re about to push, then take your front foot off and walk away. Practice this maneuver to ensure it feels natural and controlled.
For added security, use this method in conjunction with foot braking. It’s always good to have a few tricks up your sleeve, especially as you get into faster or techier terrain.
Building Speed
Once you’ve built up some confidence, you’ll want to start picking up some speed. There are primarily two ways to gain speed:
Pushing: Gain speed on the flats by increasing the frequency and force of your pushes. Keep your balance and fluidity.
Tucking: When riding downhill, tuck in. This means bending your knees to a 90-degree angle and leaning your weight over your front foot. This will lower your center of gravity and reduce air resistance, which makes it easier to control your speed and balance.
Learning to Stop at Higher Speeds
As your speeds increase, the importance of stopping does too. Here’s a quick breakdown of techniques by speed:
Low Speeds: Foot braking or hopping off the board.
Moderate Speeds: Carving is effective, but be comfortable with sharp turns.
High Speed: Sliding or tucking will be required to stay in control. First practice on mellow slopes before starting to ride steeper hills.
Practice Makes Perfect
Longboarding is a skill that develops with practice. Invest time in perfecting each step, starting on flat surfaces and then slightly sloping ones as your confidence and expertise increase. Remember, it is always about consistency.

More Tips
Be Patient: It may be normal to feel wobbly and unsure at first, but take it slowly and do not rush it.
Watch Tutorials: Videos are a great way to see how things are done. Here are some useful tutorials:
Invest in Gear: Other than a helmet, one can also get knee pads, elbow pads, and gloves for extra protection.
Experiment: Try different boards, wheels, and riding styles to find what suits you best.
Conclusion
Longboarding is not a sport; it’s a way of life-a thrilling feeling, a sense of freedom, and an edge of adventure. Be it the initial stages of learning to balance or an advanced rider trying to take on newer challenges, the journey is just as worth it as the ride. Keep safety in mind, take your time with the basics, and most importantly, enjoy the open road. Longboarding is a skill, but it can also be a lifelong passion-with practice and perseverance, of course.